This step by step guide to starting a garden from the ground up is perfect for beginning gardeners and homesteaders alike!
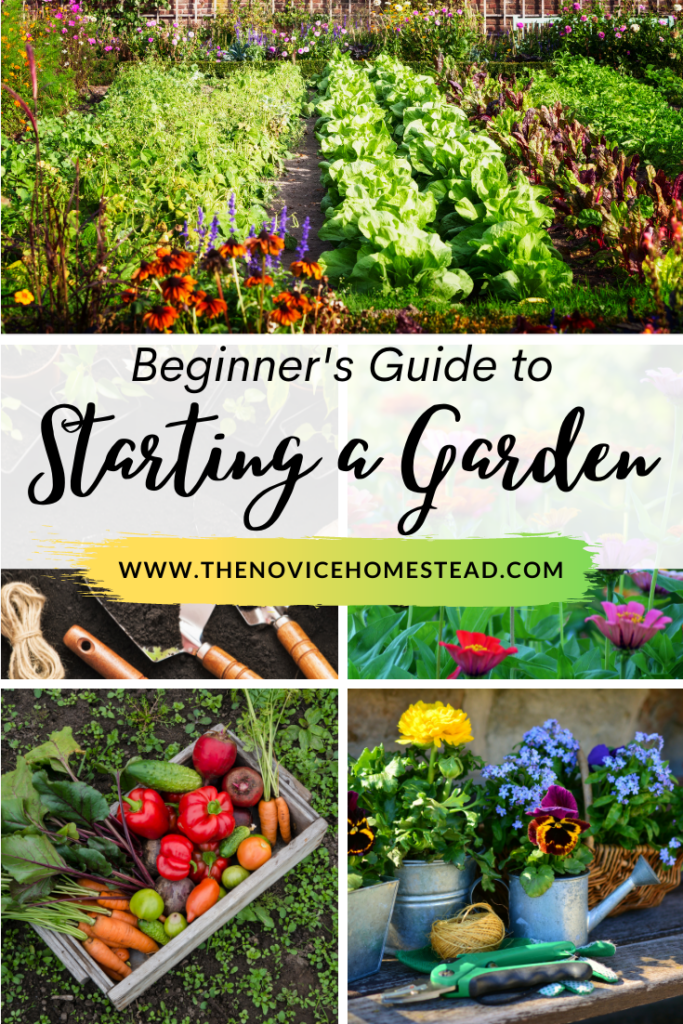
How to Start a Garden
If you’ve been thinking about starting a garden, but aren’t sure where to start, then this guide is for you! Gardening is a way to beautify your home and it is also a way to grow your own food, which is a big part of homesteading.
Gardening can be very rewarding, but it isn’t always easy. Planning ahead and researching first can save a lot of time and trouble.
This guide will walk you through the basic steps of starting a garden, from how to set up your garden space, to how to choose the right plants, and more.
1. Learn About Your Climate Zone
The USDA Plant Hardiness Zone Map was created to help gardeners determine which plants are most likely to thrive in a specific location. The 2012 Plant Hardiness Zone Map is the most recent edition (as of writing this post).
This map designates 11 zones in North America, based on minimum average annual temperatures, in 10 degree increments. The lower the number, the lower the temperatures in that hardiness zone.
Once you know your zone, you will be able to better research types of plants that have the best chance to grow successfully in your area. This will also give your insight into when to start planting. Many seed catalogues and packets have instructions for planting times, based on your zone.
2. Plan Your Garden Space
Equally as important as understanding the local climate is knowing the advantages and disadvantages of your land or yard so you can decide where to put the garden.
How much space do you have available? Will you be creating an in-ground or raised bed garden? How much will you depend on the garden for your overall food situation? Feeding a family will require a good bit of garden space and year-round planning, planting, and storage. However, if you’re simply looking to supplement your fresh veggies and fruits, a smaller garden may be suitable.
If you’re planting in-ground, you’ll need to know the composition of your soil. If you’re planning to make raised beds, you’ll need to think about materials, construction, and layout.
In-ground gardening is ideal if you’re planning a large garden. This will allow you to use tractors or other tools to prepare the soil. An in-ground garden usually has a lower start-up cost, assuming you already have a tractor or till.
Raised beds are ideal if your property is prone to flooding, your soil has poor drainage, or you have back issues that make it difficult to work on the ground. Raised beds can also help keep certain pests, such as rabbits, out of your garden (if you make them tall enough).
If you are a renter, have a small yard, or live in an apartment (yes, apartment dwellers can practice homesteading principles!) then containers may be your best bet. A community garden may be another option until you have your own space.
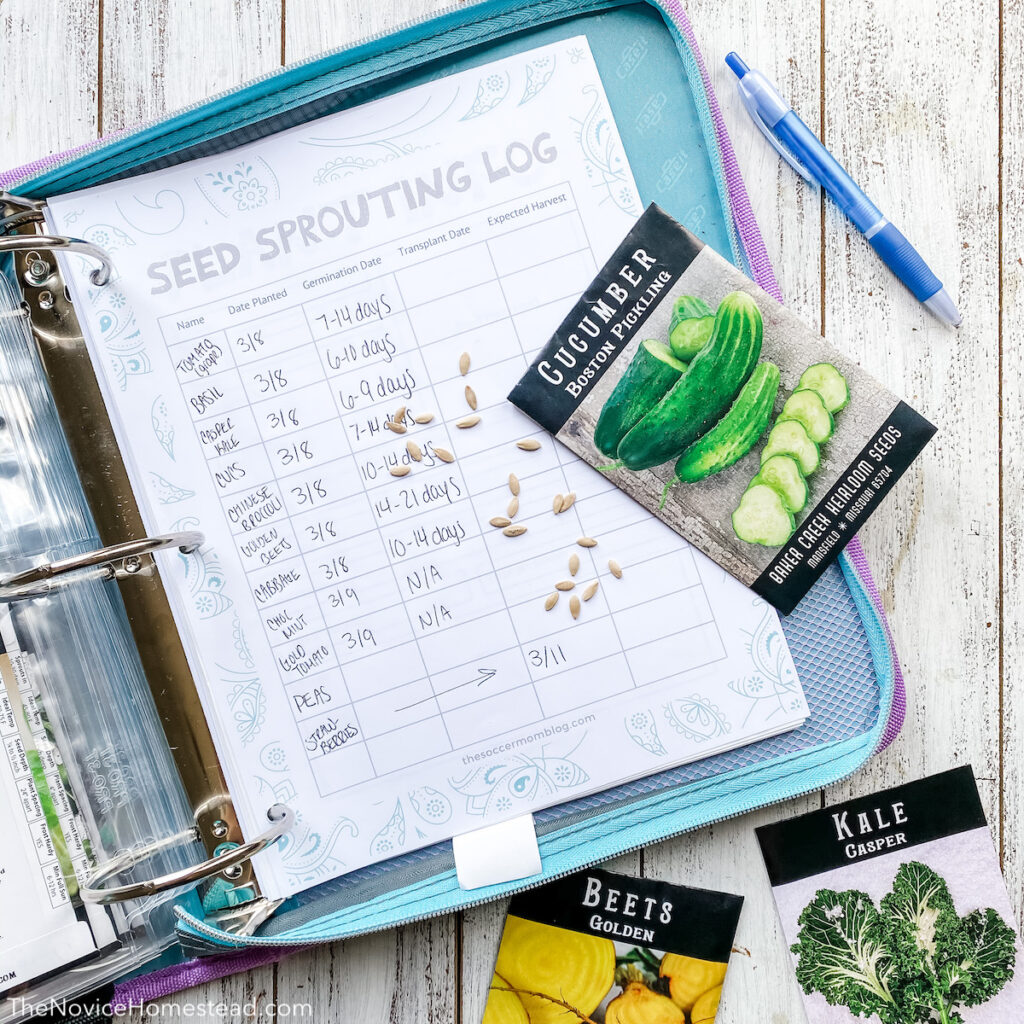
TIP: A garden planner can be extremely helpful for keeping track of what you’re planting, where you’re planting it, when you planted it, and when you should harvest it. I created this printable garden planner and it is the one I use daily — you can customize it to your own needs! If I didn’t use a garden planner, I would never remember exactly when I planted everything!
3. Pick Your Plants
Even before you start working the dirt, it’s helpful to know what exactly you’re going to plant…and when. Some gardeners like to create a diagram or map of their garden first.
Things to consider:
- What plants grow best in your zone?
- Which season are you preparing for and what plants are ideal for that season?
- Do you need to leave space for the next season’s plants so you’ll have something growing at all times?
- When will you need to harvest each crop and how will you store that harvest?
It’s also just as important to understand that there are limitations to what you can grow in your area. Find out what garden zone you live in and base your decisions on that. If you don’t live in a climate zone area or a soil area that works well for avocados, you need to realize that this isn’t something that you should waste time trying to grow.
4. Prepare Your Garden Area
Now that you know what, where, and when you’re going to plant, it’s time to build your garden. This will mean acquiring basic tools and supplies. Gardening can be as thrifty or as expensive as you want to make it!
Materials: If planting a large in-ground garden, a tractor will almost certainly be a necessity. If you do not own one, borrowing or renting may be the best option until buying is in your budget.
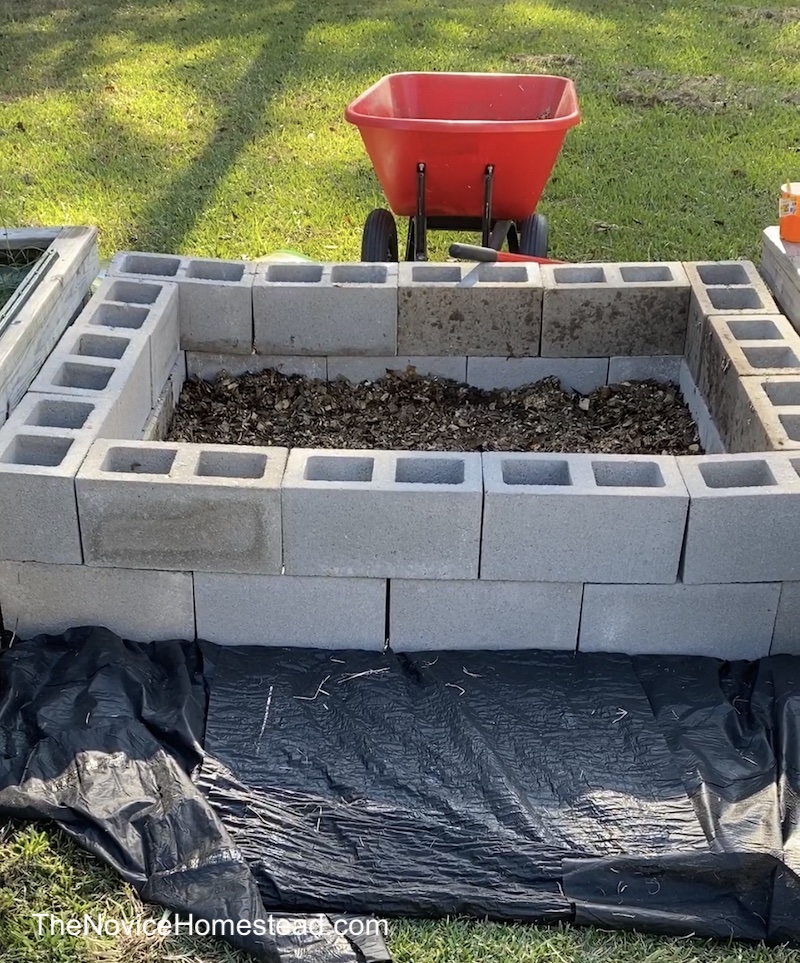
If building a raised bed garden, there are endless ways to do this! You don’t have to build Pinterest-worthy wooden garden beds…unless you want to do so of course.
My own garden beds are a combination of what was on the property when we moved there, plus what we put together from simple materials. We used free bricks that my dad was getting rid of to build some of the beds. We also used cinderblocks for a couple other beds. Using bricks and blocks allows you some freedom to move and re-arrange the garden later on, but they are heavy!
Related: Is an Ugly Garden Bad? Plus how to Fix it!
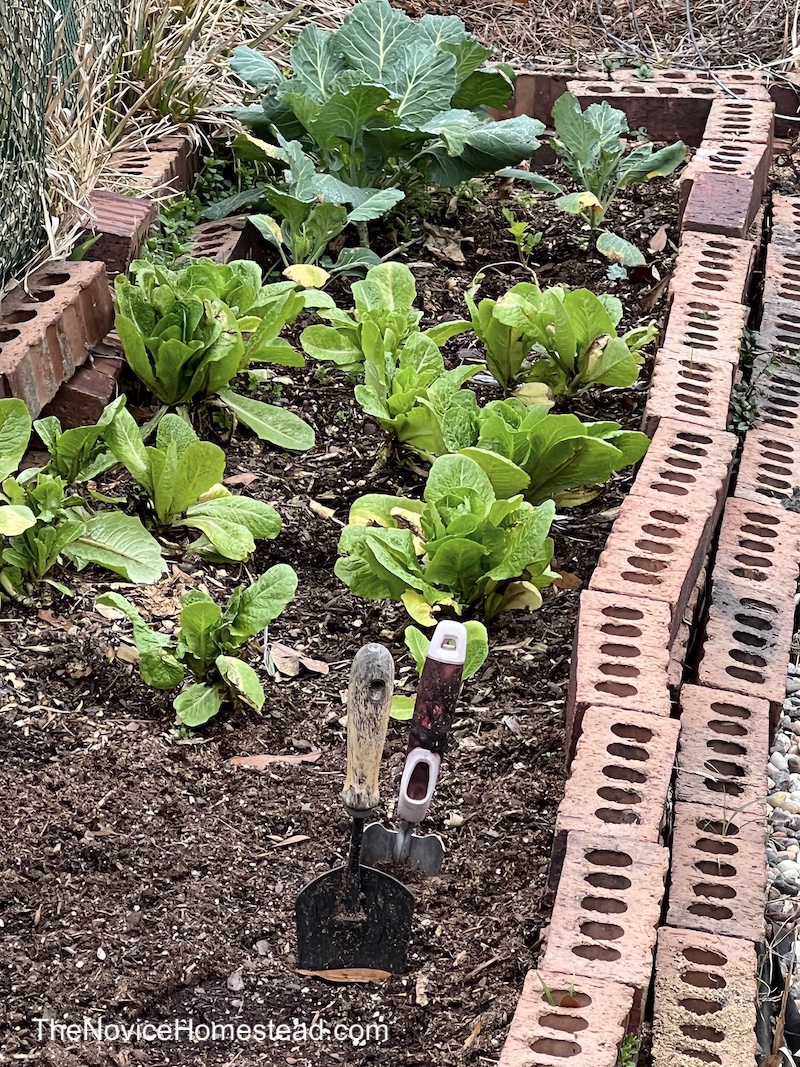
Weeds: When building raised beds, I recommend lining the base with a thick weed-blocking cloth before filling with soil. The beds we built using weed block are much easier to manage than the gardens that were made by the previous owner (who I’m assuming did not take this extra step). Weeding is annoying and time consuming, so preventing their growth in the first place is the way to go.
Pests: Another annoyance to expect and prepare for are the hungry animals who want to eat your new garden. Left unprotected, you’re basically providing a buffet for the wildlife!
A fence is an effective way to keep out pests. It needs to be at least 7 feet tall to keep out deer (who can jump very high). Rabbits can dig under the fence, so lining it with a row of bricks, rocks, etc. may be helpful. Again, fencing doesn’t need to be fancy. We used inexpensive deer netting and T-posts to get started quickly. You can always pretty it up later! What’s most important is protecting your hard work and your food!
Related: Learn more about how to keep deer out of your garden here!
Soil: Finally, you’ll want to choose the right soil for your garden. Raised beds will need to be filled and an in-ground garden may need the soil amended or improved. (Testing the soil can be helpful).
When in doubt, an all-around vegetable garden soil or compost is a safe bet. If you need a large amount, ordering a truckload from your local soil supplier is much more cost-effective than buying individual bags from the hardware store.
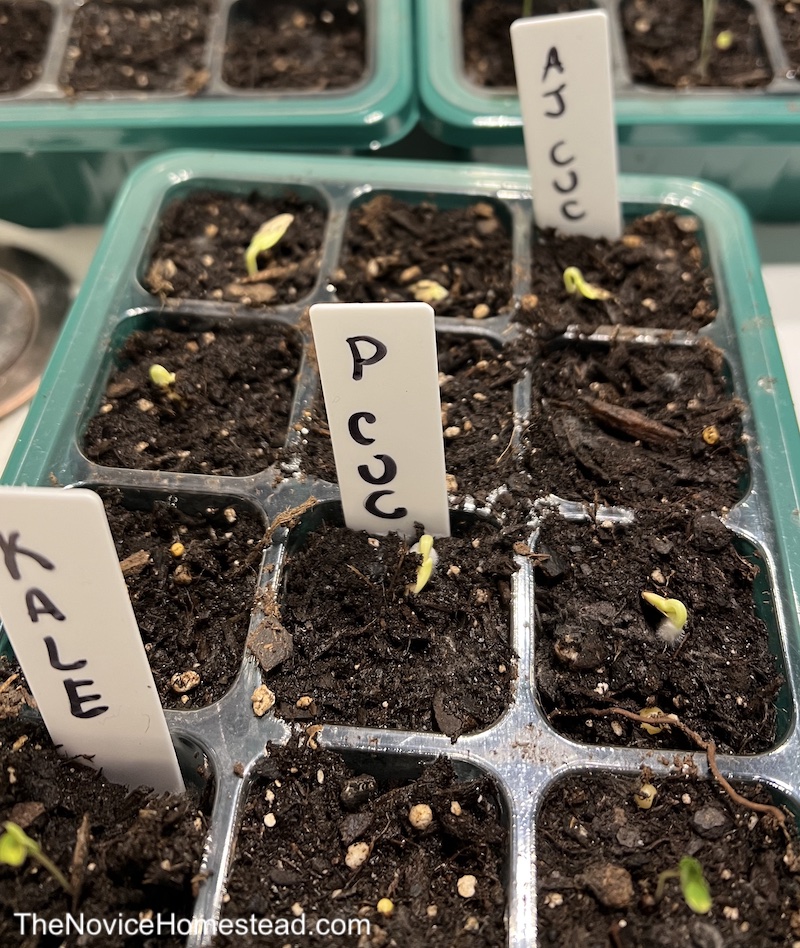
5. Start Your Seeds
Now it’s time to think about planting – will you be starting from seed or established plants? I actually do a combination of both, to “hedge my bets” if you will.
For example, I planted four different kinds of tomatoes last season. Two were from seed and two were from plants I bought at the garden store. The established plants started producing fruit much earlier. As those began to reach the end of their lifespan, the plants I started from seeds matured. This system worked out very well and I had fresh tomatoes growing from March to September!
When researching how to grow the plant varieties you chose, you will probably notice that some suggest “direct sowing” (planting in the spot you want them to live permanently) and some will suggest starting indoors and transplanting later.
If starting seeds indoors, I highly suggest a grow light for the best chance at success. Growing from seed can be tricky!
Note: We’ve included shop-able ad links to products we love and use; read our disclosure policy here.
Here’s what I use for seed starting indoors:
- Indoor Grow Light — This little gem was affordable and is working great!
- Seed Starting Trays — I opted for plastic versus compostable so I can reuse them next season. Also, I found that starting seeds in compostable trays or egg cartons made them more susceptible to mold.
Related: Learn more about seed starting ideas here!
It’s essential to read the directions on the plants or seeds so that you ensure that you’re planting your garden in the best way possible. These directions will talk about soil depth, the distance between seeds, and more so, pay close attention to these essential details.
6. Don’t Neglect What You’ve Planted
It sounds like a no-brainer, but it’s so important that I feel like it still needs to be said. Gardens are NOT a set-it-and-forget-it situation! They need regular attention and care.
During the summer, my garden needs watered daily because it gets so hot here in Texas. Skipping just one day has a visible effect on the plants.
Daily garden checks can also help prevent small problems from becoming big problems. For example, if you find evidence that a rabbit tried to dig under the fence, you can strengthen your protections before they’re able to break in.
Insect pests can also set in quickly, and if you’re not checking your garden, you may not notice until they’ve eaten your plants.
Related: Learn 9 Natural Ways to Keep Pests Out of Your Garden here!
One More Thing…
Failure is part of gardening.
Yes, you read that right!
Every gardener has things go wrong. Some seeds just don’t take. Bugs eat your plants. Maybe a deer breaks into the garden. A strong storm causes damage. A sudden freeze kills the tomatoes.
While you can plan, prepare, and protect your garden from a lot of things, there will still be stuff that goes wrong. It’s totally normal and it happens to all of us.
To be completely honest, I always have failures in my garden! Last year my kale was beautiful! This year it has struggled. But I try to learn from mistakes and experiences to make my garden better.
The best tips I can give is to plant more than you think you’ll need (because not all of your plants will make it)…and to not give up when things go wrong.
If you’re willing to put in the work, gardening can be extremely rewarding! And fun!
These simple steps for starting a garden are a great way to make sure that you’re starting your garden off in the best way possible. You’ll soon find out that a little bit of effort will go a long way in producing the garden of your dreams.
More of our Most Popular Gardening Tips
- How to Prepare Your Garden For Planting
- Banana Peel Water Plant Fertilizer
- How to Get Rid of Ants in the Garden
- What Things Can You Compost?
- How Often Should You Water Your Garden?
- What Plants Can Survive in Texas in Summer?
- How to Grow More Tomatoes
- How to Prune Basil
- Peppermint Oil Spray for the Garden
- How to get Slugs, Snails, & Caterpillars Out of Your Garden